downward facing dog | adho much svanasana revisited

back to basics with adho mukha svanasana
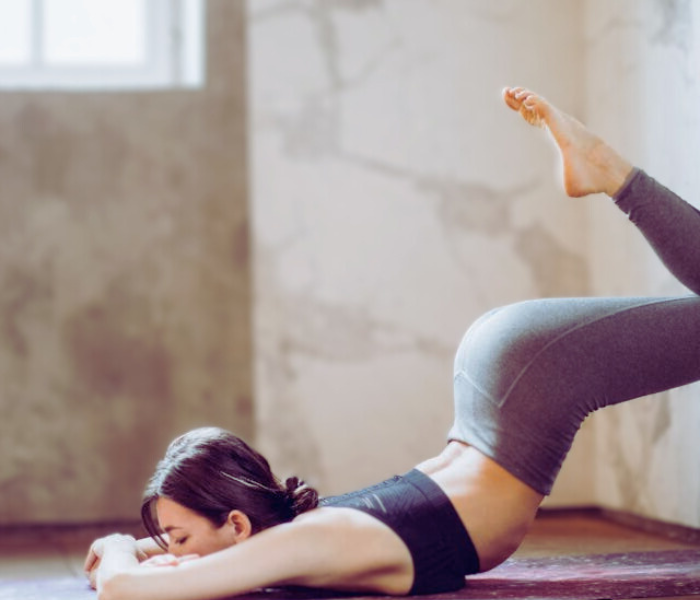
Downward-facing dog or Adho Mukha Svanasana is arguably one of the most recognizable of yoga poses. From a transitional asana where it provides us space to ground ourselves before moving on to the next pose to a surprisingly luxurious resting pose, this is a very versatile asana.
Having practiced Iyengar Yoga for four years and finally taking the next step by becoming an instructor, I thought what better way to help me become a more conscious teacher than to break down and process little tweaks which may help us reap the benefits of asana. I hope these tips are helpful!
However, if not done properly, it can cause much discomfort, subsequently distracting the mind from the main purpose of the practice. If you are a beginner, here are some tips and areas to be aware of during practice.
Also Read>>> How to Start Yoga at Home
Take the pose with knees hip-width distance, and hands are shoulders-width distance. Imagine an inverted V pose with the sit bone as the tip and weight evenly distributed and from the tips of the fingers to our heels.
1. Engage the torso
As a beginner, it is easy for the torso to slump slightly forward and most of the weight to be on the upper body, shoulders, wrists and arms. Be mindful that the torso has to be engaged throughout the pose. Imagine the torso as a string between our sit bone and crown of the head, and imagine straightening the string and subsequently elongating and engaging the torso when holding the asana.
2. Awareness to the rounded shoulders
We have all heard this before, constantly working on the computer results in a slightly hunched posture and slightly rounded shoulders. When we are in downward dog remember to bring awareness to this and broaden the chest area to avoid an uncomfortable, pitched sensation in the shoulders. Roll the shoulders back, as it helps broaden the chest area and create space between the ears and the shoulders.
3. Upper arm outward, lower arm inward
Engage the arms muscles. This applies even to the small spaces between our fingers. Spread the palm evenly and ‘push’ against the mat if it helps the mind to engage the arms. The upper arm has to be turned outward while the lower arm has to rotate inward. This is tricky but can be achieved with time, practice and patience. Just use this as a general guide in directing your arm muscles, and work towards this arm movement.
4. Roll the thighs in
My teachers used to say that the legs have to be so engaged to the extent that even the skin at the back of the knee is stretched. It is just an example of how engaged we have to be in the asana.
However, we still have to respect the limitation of our bodies and be mindful not to ‘overdo’ the asana. It is great if your feet can firmly press the ground. But it is also absolutely ok if you can’t reach the ground initially. There is no perfect pose, it’s our growth through the asana that matters.
Roll the thighs in. If it helps, think of rolling the midsection of the thighs first and then the rest of the thigh. If bent knees feel just slightly less strenuous at that moment, then bent knees are fine.
5. Release tension around neck area
Don’t lose control of the head and allow it to hang entirely, but at the same time, don’t hold on to it too much. Avoid clenching the facial muscles. Let go of tension in the tongue area, let go of tensions in the facial area. Breathe.
With every inhalation and exhalation try to go deeper into the pose. Hold for a few breaths before going deeper. If there is an unpleasant sensation, focus and direct the breath to the area and sensation. With every exhalation imagine letting go of the unpleasant sensation.
Also Read>>> 5 Easy Yoga Asanas to Relieve Back Pain
At any time when it gets overwhelming and the mind is focusing on too many elements of the pose, just stop and breathe and slowly try to address one element of the pose at a time. If it is still overwhelming just focus on the inhalations and exhalations.
To depart
Remember to always go back to the inhalation and exhalation. Always go back to the breath. With patience and practice, we will grow and develop strength through the asana. Happy practicing!