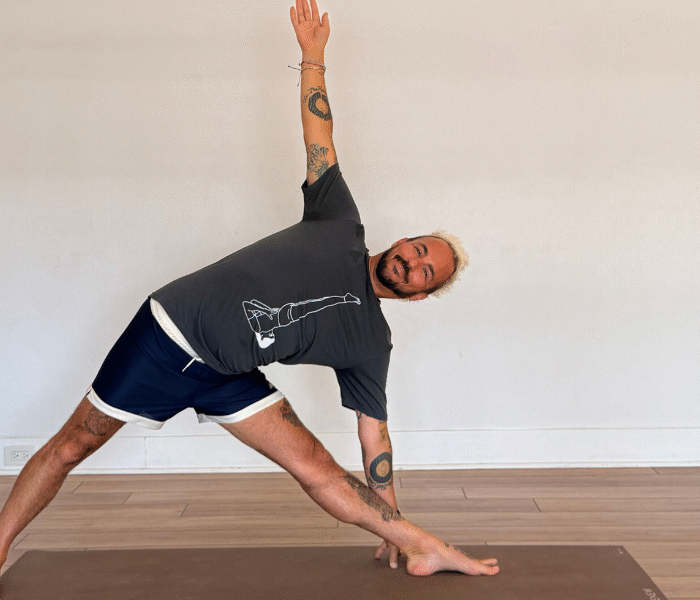
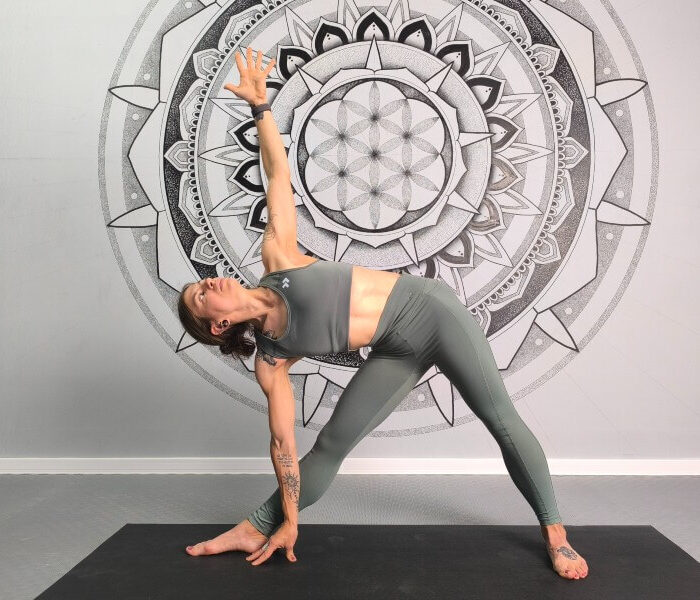
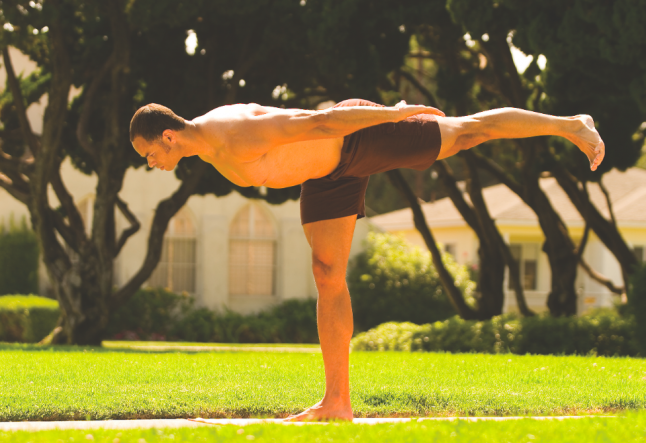
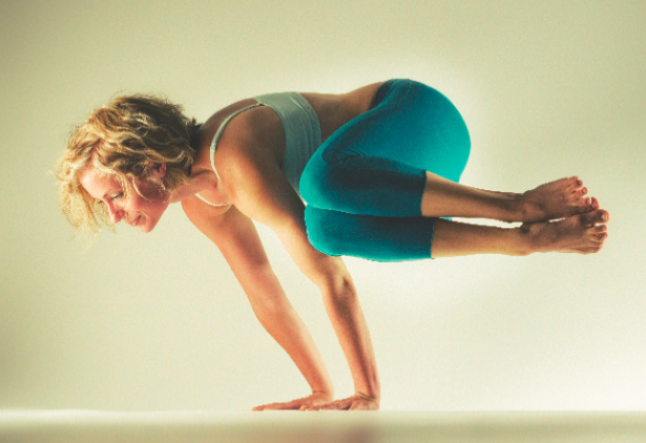
gate pose, stretch your side body (parighasana)

Yoga side gate pose is energized and lightened in Parighasana, in these kneeling yoga poses the breath is invited to become fully three-dimensional.
We are culturally highly conscious and evolved in the front of our bodies. We welcome and explore the environment with our whole front of the body, including the face, pelvis, hands, and feet. On the other hand, many students have described their side gate body—the region between the hips and the armpits—as a numb, thick, or heavy area.
With Gate Pose, you can give some well-deserved love to the side of your body
Unless we have back pain, we tend to forget about it—out of sight and out of mind. One of the most appealing aspects of the yoga gate pose, which means “union,” is that it encourages us to distribute our attention and respect across the whole body.
Parigha means “the bar used to close a gate” in Sanskrit. The body in Parighasana resembles a cross beam. The intercostal muscles that connect the ribs are stretched in this asana.
When these muscles are tight, as they are when we cough and sneeze a lot or have bad posture, the rib cage’s mobility is limited, and breathing is hindered as well. On the other hand, because elongating the intercostal muscles promotes breathing, Parighasana may assist with respiratory issues such as asthma, allergies, colds, and flu. But first, let’s take a look at our breathing using the three-part breath.
Yogic breathing helps us feel more grounded and comfortable in our bodies by calming the nerves, cleansing the circulatory system, nourishing the abdominal organs, and improving digestion.
Inhaling into the belly, pulling the same breath up through the expanding rib cage, and still farther up into the chest, the three-part breath encourages us to produce a wave-like action from the pelvis to the upper chest.
Also Read >>> Surya Namaskar – Sun Salutation
Checking in
Lie down on your back with your knees bent comfortably. Put your hands on your stomach (your middle fingers can touch at the navel). Completely exhale, pulling the belly button inward. Inhale deeply, allowing your breath to contact the front, sides, and rear of your belly button. Exhale fully when you’re ready. Place your hands on your rib cage so that your fingers are no longer in contact.
As you inhale, allow your ribcage to gradually expand. Feel how the front, sides, and rear of your ribcage are opening. You’ll see the fingers moving closer to each other as you breathe. Now put one hand on the middle of your upper chest and breathe into it. From your chest to your collarbones, expand. Completely exhale.
Take time to observe any differences after you’ve completed a few rounds of practice. Make a conscious effort to become aware of your side gate body. How effectively are the ribs being broadened by the air? Let’s look at how Parighasana may help us expand our breath and become more aware of our side body.
Step-by-Step Instructions for the Gate Pose
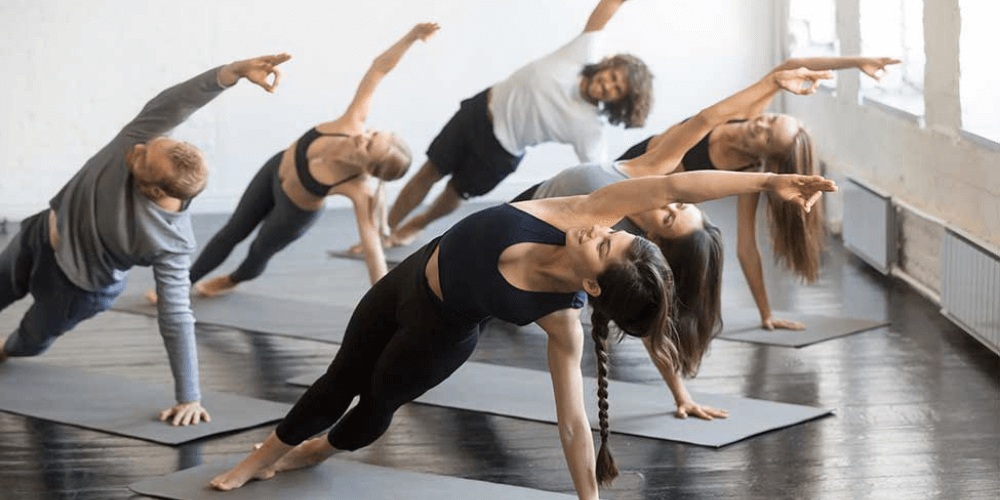
Kneeling Yoga Poses 1st step
Kneel down on the ground. Stretch your right leg out to the right and push your foot to the floor, or use a block for additional support. Keep your left knee exactly under your left hip (thigh perpendicular to the floor) and your right heel aligned with the left knee.
Turn your upper body back to the left while turning your pelvis slightly to the right (so the left hip point comes ahead of the right). To do so, turn your right leg out and point the kneecap toward the ceiling.
Kneeling Yoga Poses 2nd step
Bring your arms out to your sides, parallel to the floor, palms down, as you inhale. Bend to the right over the right leg’s plane and place your right hand on the shin, ankle, or the floor outside the right leg. Stretch the left side gate of the body while contracting the right.
Push the pelvis down toward the floor with your left hand on the outside left hip. Then, using your left hand, reach up to the lower left ribs and pull them toward the shoulder, making room in the left waist.
Kneeling Yoga Poses 3rd step
Sweep the left arm across the back of the left ear while inhaling. The torso tends to sink toward the floor while doing a side gate bend. Turn the upper body away from the floor without pulling the left hip back (continue to roll it slightly forward).
Kneeling Yoga Poses 4th step
This posture may be held for 30 seconds to a minute. As you inhale, lift your body up by reaching through your upper arm. Repeat with the legs reversed, bringing the right knee back alongside the left.
Gate Pose in its entirety
Parighasana (full side bend) is a deep side gate bend. Lean-to the side over the straight leg from the beginning posture indicated in Step 2 above. Bring the bottom of the body as near to the top of the straight leg as feasible.
Sweep the upper arm over the back of the ear and connect the palms, pressing the back of the lower hand on the top of the foot. Complete the steps outlined in Step 4 above.
Yoga Gate Pose Physical Advantages
It is a side gate pose that requires a lot of strength and is a position that stretches out the body’s often-overlooked regions. From hips, wrist, obliques, hips, intercostals, triceps, latissimus dorsi, biceps, and even the hands are all affected. To have balance in the posture, you must also activate your leg muscles and your core.
The inner leg muscles help support the inner and outer muscles, and in return supports the knees, decreasing knee discomfort. Additionally, when all of the leg muscles are strong, the body’s alignment is improved, including the feet, knees, hips, shoulders, and spine.
The back muscles, particularly the lower back, middle back, and shoulders, are also strengthened in this posture. It also aids in the creation of space between each pair of vertebrae in the spine, allowing the nerves to function correctly.
The arm muscles must be strong and engaged in order to keep the arm above.
Advantages of Yoga Gate Pose in the Energy System
Encourages deep breathing into the side of your body, allowing you to extend from the inside of your ribcage to create room. This posture is good for increasing lung capacity since the intercostal muscles are necessary for taking full and complete breaths.
Gate Pose Necessary Modifications
People with severe knee or hip injuries or problems, particularly those involving the joints, should proceed with care in this position.
Bring a folded blanket beneath the knees if you have minor knee pain or discomfort.
Instead of lifting the arm to the ceiling, those with shoulder problems may put the upper hand on the hip.
Taking a look at the threshold
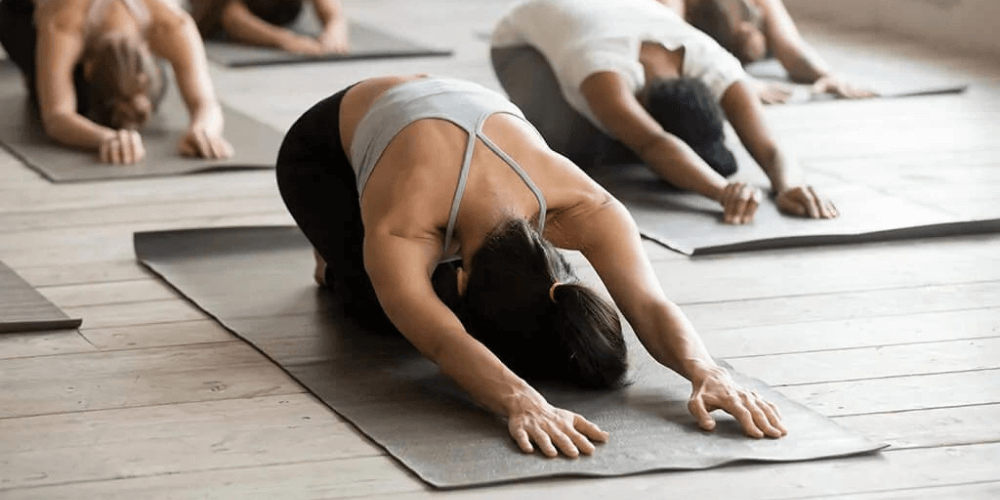
Standing on your knees, do the yoga gate pose parighasana. If you’re working on a hard surface, a mat or blanket may help cushion your knees. Stretch your right leg out to the right, heel on the floor, toes pointing away from the torso.
Keep the foot as flat as possible on the floor. Make sure your right leg is straight, your knee is towards the ceiling, and your ankle is in line with your right hip. The left knee should lie exactly under the left hip.
Both arms should be stretched out to the sides, palms facing down. Reach from your sternum through your chest muscles, extending down the biceps all the way to your thumbs in the front torso. Make sure your rib cage isn’t pushed forward.
Feel the back body stretch. Exhale and bend at the waist, lowering the right hand to the lower right thigh and extending the left arm up, palm facing downward.
Stretch a bit longer through the spine into the top of your head with each inhalation, extending through all the fingers of your left hand. Exhale slowly, allowing the right hand to travel down the right leg toward the ankle and the left palm to extend away from the left hip with each exhale.
Modify as you feel necessary
You can modify the kneeling yoga poses now that you’re in it. To assist you in twisting, push your right thumb towards the inner right thigh instead of shutting down your face and belly toward the floor. As the heart expands, feel the right hip and right rear ribs go forward.
Instead of blocking your vision with your left arm, extend it beyond your ear and above. Feel the intercostal muscles expand as you breathe into the left rib cage. Keep in mind that you’re also giving your liver a good stretch.
When you’re ready to exit the Parighasana, exhale and raise your left arm straight up toward the sky, bringing your spine back to vertical and reaching your two arms horizontally once again. Allow the arms to descend with the next exhale.
You will stretch the right side body and intercostals as well as offer an opening to the stomach and spleen when you perform the posture on your other side.
Side bending may feel quite different on both sides. The Gate Pose (parighasana) will lengthen ribs, muscles, and organs that have been restricted by daily position. Ensure that you are always able to comfortably breathe and move.
Sit on a folded blanket or bolster to take several three-part breaths after you’ve done the posture once or twice. Have you seen any changes in your side body? Can you feel how your intercostal muscles assist in raising and then lowering your ribs when you inhale and exhale?
“Any method of entry or entrance,” according to the Random House Dictionary, is one meaning for “gate.” Practicing Gate Pose allows us to breathe more deeply and circulate more prana, or universal life-force energy, throughout the body. When the side body is awakened, we have a greater sense of completeness and energy.
Enjoy your practice
The Gate Pose, or Parighasana, is as lovely and delicate as it seems from afar, and it makes the body look just as slender and exquisite. Although it is not an advanced position, it may help newcomers on online yoga training to the yoga gate pose: the side gate poses elegantly stretches and lengthens the muscles of the legs, spine, and shoulders. It offers us purpose, clarity of thinking, and self-belief as much as it expands our chest and makes us reach up to the sky.
Namaste!
Continue mastering Triangle Pose in your yoga practice.
